How to Put a Clip Art as a Brush in Gimp
Introduction to GIMP Brushes
Brushes are a very good and effective tool for art and illustration in any designing work same as in GIMP, we utilize brushes for many dissimilar purposes, such as in prototype manipulation, which includes hiding some surface area of whatever layer, making patterned line, or whatever detail shape or artwork in just one click and many more. Similar other software tools, we take a number of parameters of this tool, and by changing them, we tin can have lots of multifariousness in working of this brush tool. So I retrieve yous're excited at present for analyzing these features of the castor tool for getting good hands-on.
How to utilize Brushes in GIMP?
Working features and using this tool is quite elementary because y'all can play with it with merely a few elementary clicks, then let the states see what these clicks are.
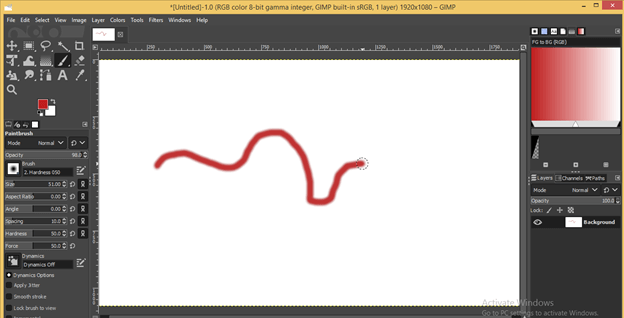
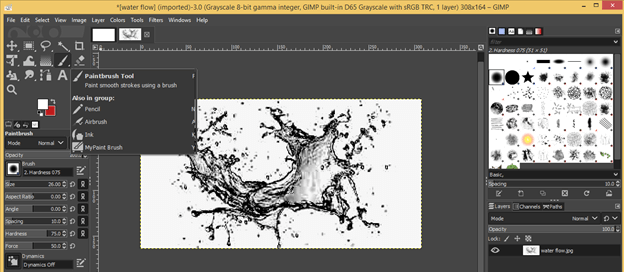
Get to the tool panel, and you volition have brushes with the name Paint Brush tool, so click on information technology or simply press the P button as a shortcut primal.
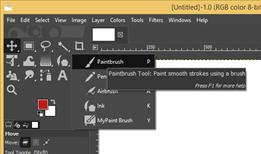
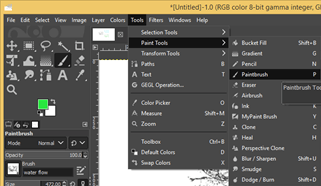
Y'all tin can too have the Paint Castor tool from the Paint tools option of the Tool Menu of the carte du jour bar.
Once yous have activated this tool, you will have this dashed circle cursor on your screen.
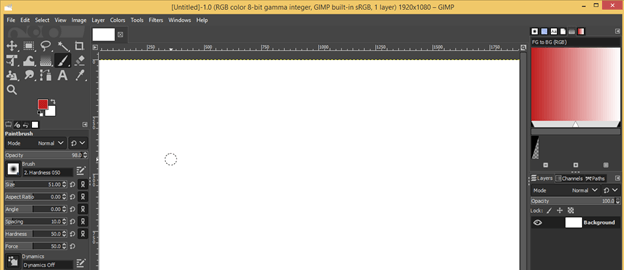
You simply have to cull the beginning point by click anywhere on your document area or from where you desire to start, so drag the mouse by holding that click. This fashion, you can use any brush tool. Isn't that very simple?
Now let u.s. have a look at the parameters of brushes.
- Parameters of brush tool:
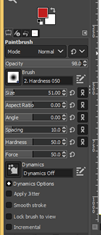
Nosotros accept a number of parameters in the brush tool, which includes opacity, hardness, size, aspect ratio, angle and some others.
- Hardness
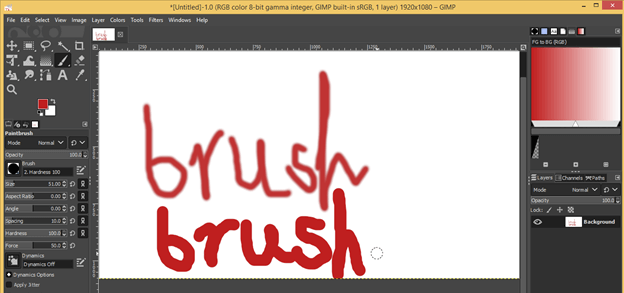
Hardness means how difficult edges of drawn shape will exist with the brush tip of the brush tool. I draw this with hardness 50%.
Now changes the hardness to 100% by choosing it from presets of brushes.
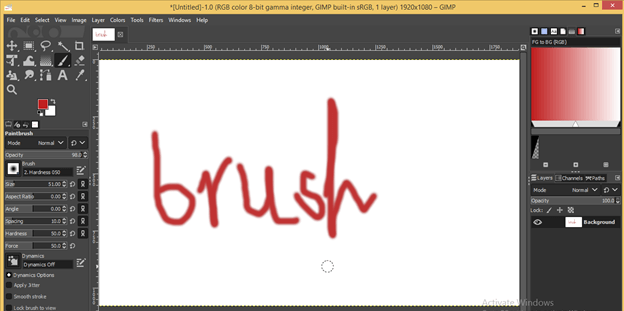
And draw it again. You tin see the difference between both of them; the second one has the hard edge due to the 100 % hardness of the brush tip.
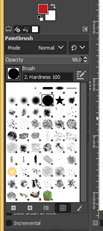
- Design:
You lot can also choose any preset design from this listing, and when you describe annihilation with a brush, then yous volition get your called pattern stroke similar this.

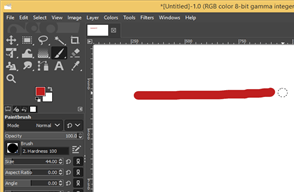
- Size:
Size refers as the size of the tip of a brush. Y'all can increment or decrease information technology as per your requirement anytime.
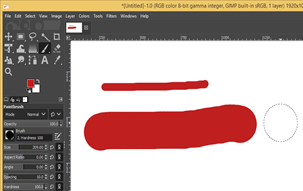
- Attribute Ratio:
Aspect ratio means the ratio betwixt width and height of castor tip. If y'all increment this ratio, you will go this blazon of brush tip that has an oval shape compared to a normal brush tip.
- Angle:
By changing the bending, you will change the angle of the castor tip. See the deviation between both brush strokes. The first one is at 0 degree, and the 2nd ane is at 55 degrees.
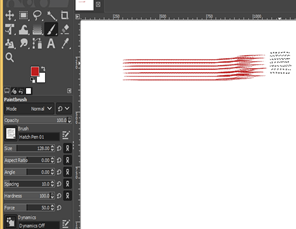

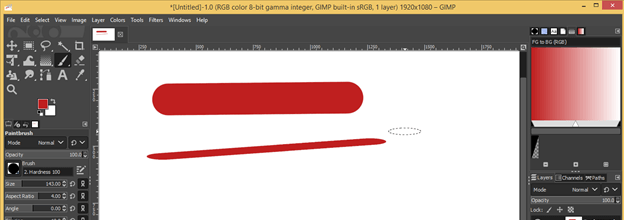
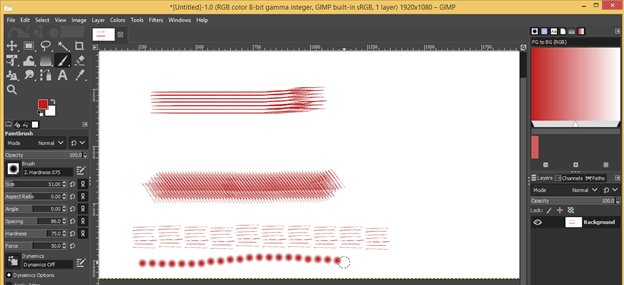
- Spacing:
It defines a distance between pattern drawn by brushes. The pinnacle stroke of the brush is drawn at 10 spacing, and the bottom two are drawn at 91 spacing, and then I think you understand what is spacing past seeing this.
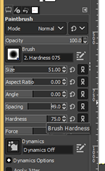
We take discussed hardness to a higher place, which is our adjacent parameter here; you tin give the value of hardness as per your choice.
These are few of import parameters of brushes. Now allow united states of america learn how nosotros tin have custom brushes in GIMP.
How to Create Custom Brushes in GIMP?
First place prototype in this software which you want to make a pattern of a brush. So go to the Open option and place it hither.
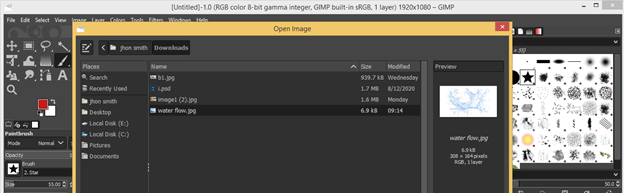
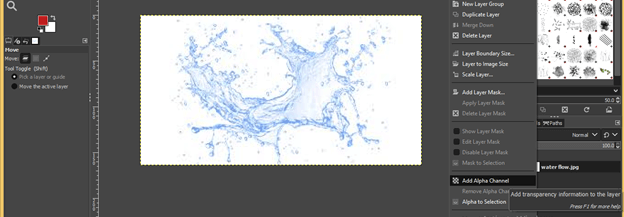
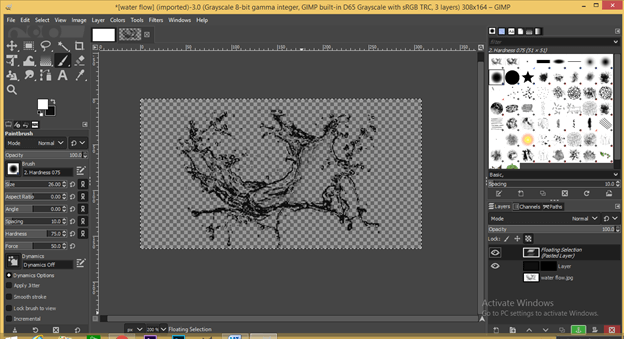
I will take this water catamenia image. Now brand right-click on this layer and cull Add Alpha Aqueduct option.
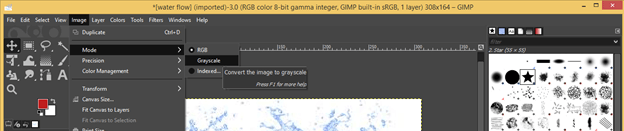
Go to the Paradigm card and change its mode to Greyness calibration.
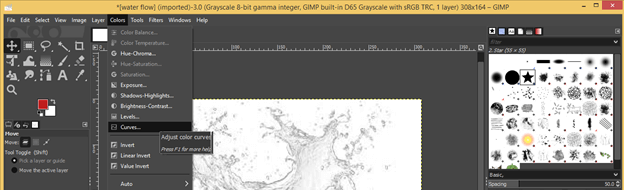
At present click on the Curves option of the Colors carte for adjusting the shadow and highlights of this water flow image.
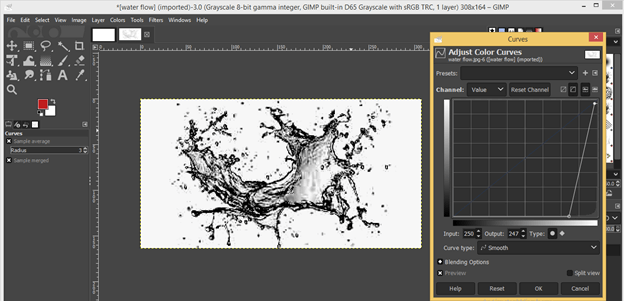
Increase shadow for making the nighttime area darker in curves and adjust highlights to brand brilliant areas brighter.
Now accept a Paint brush and set white color as foreground color. Now paint on an unwanted expanse of this prototype for hiding them.
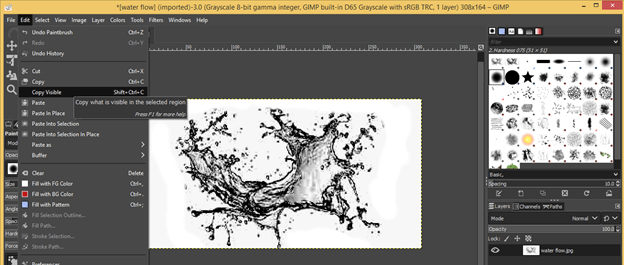
Click on the Copy Visible choice of the Edit menu for copying this epitome.
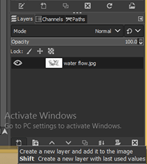
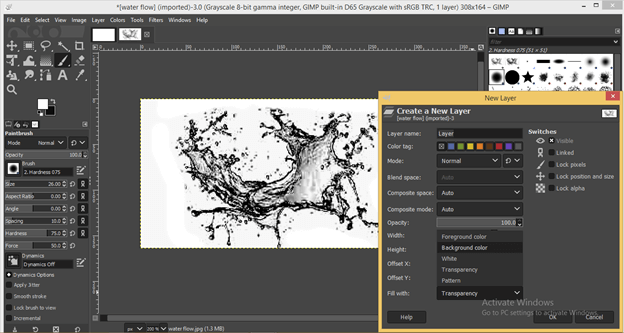
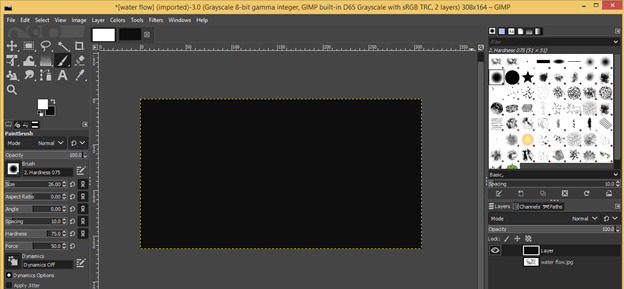
Create a new layer.
Choose the Background choice in the 'Fill With' choice of the opened dialog box. Make sure you accept blackness color as background color; otherwise, become with the Foreground color option if y'all take black color in the foreground colour.
Brand the image layer invisible by clicking on the eye button of it.
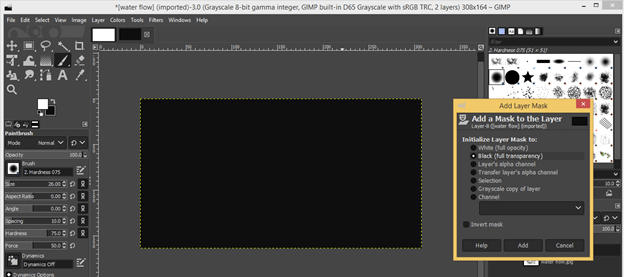
Now make right-click on this black-filled layer and click on Add layer Mask option for adding the mask to this layer.

Choose the Black (full transparency) option in opened 'Add Layer Mask' dialog box and click on Add button.
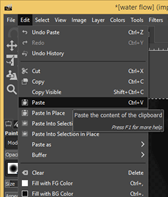
At present click on the Paste button of the Edit menu, and you lot volition have your water menses pasted here.
Click on the Invert option of the Colors carte.
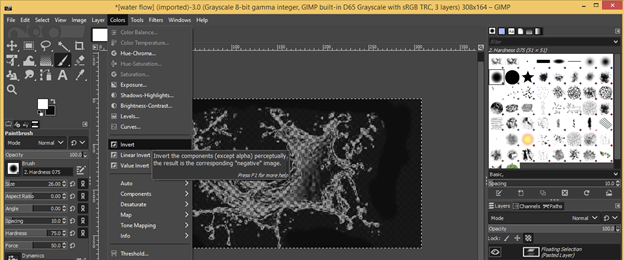
And the black colour will fill on your h2o flow mark. At present click on the ballast button at the bottom of the layer console to add together an upper floating pick to the blackness-filled layer.
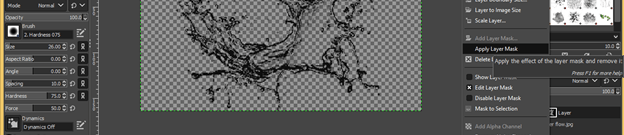
Again make correct-click on this layer and cull to Apply layer mask selection for applying the mask to this layer.
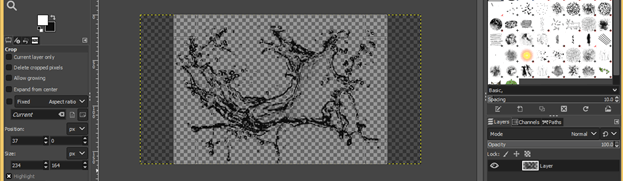
Now accept the Crop tool for cutting extra area from this image.
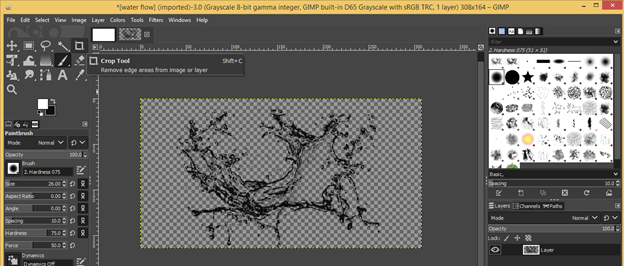
Crop information technology according to your paradigm.
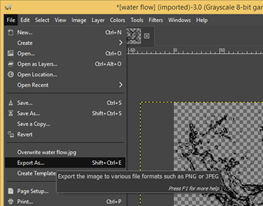
Now export information technology past Export Equally an selection of the File menu.
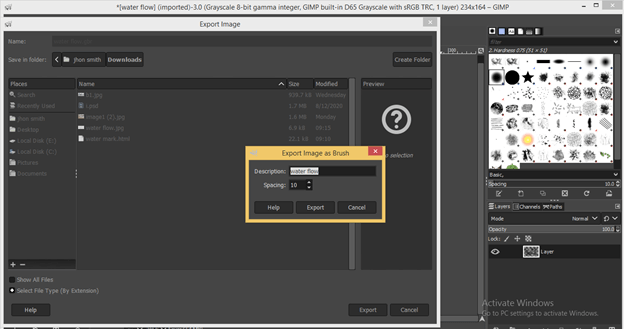
Save file name with .gbr format and click on the Export button.

Again click on the Export button.
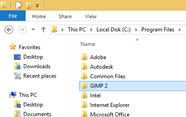
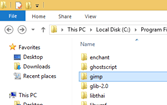
Now Copy this file and go to the Plan Files folder of C drive – GIMP 2 – Share folder.

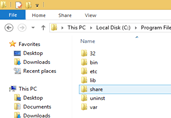
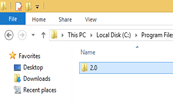
Then GIMP – ii.0 – brushes folder.
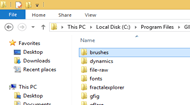
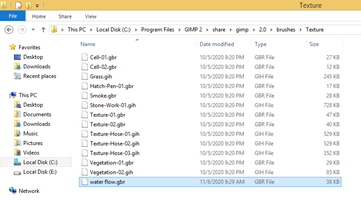
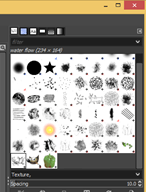
Open whatsoever folder with .gbr file format. I will open up the Texture folder now.

Paste your copied file of custom brush here.
Now you demand not to restart your GIMP software; merely click on the Refresh push button of brushes.
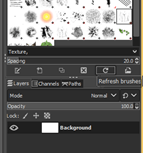
And you will take your custom castor hither.
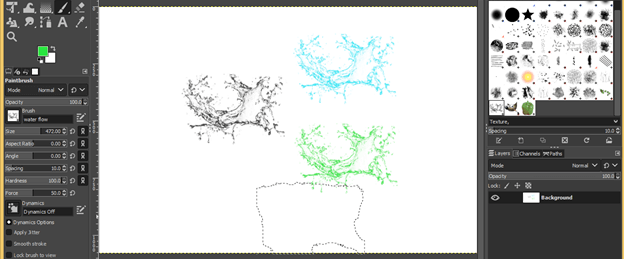
Now utilize your custom castor as brushes of this software.
Conclusion
At the end of this article, you gained lots of noesis about brushes and learned how to create your ain brush and utilize it in your piece of work. You can exercise a lot with brushes of GIMP software past analyzing their parameters of them.
Recommended Articles
This is a guide to GIMP brushes. Here we discuss how yous can create your own GIMP brushes and How can you use them in your work. You may likewise have a await at the following articles to learn more –
- GIMP Alternatives
- Adobe Photoshop Alternatives
- Install Adobe Photoshop
- Photoshop Cheat Canvass
Source: https://www.educba.com/gimp-brushes/
0 Response to "How to Put a Clip Art as a Brush in Gimp"
Publicar un comentario